OpenAPI Specification (OAS)
OpenAPI : The OpenAPI Specification (OAS) defines a standard, language-agnostic interface to RESTful APIs which allows both humans and computers to discover and understand the capabilities of the service without access to source code, documentation, or through network traffic inspection. When properly defined, a consumer can understand and interact with the remote service with a minimal amount of implementation logic.
OAS v3.0 as well as OAS v2.0(also known as Swagger) can be used to build applications.
Let’s check out the steps to import models(tables) using a publicly available specification document. We will be using the Petstore specification in this example.
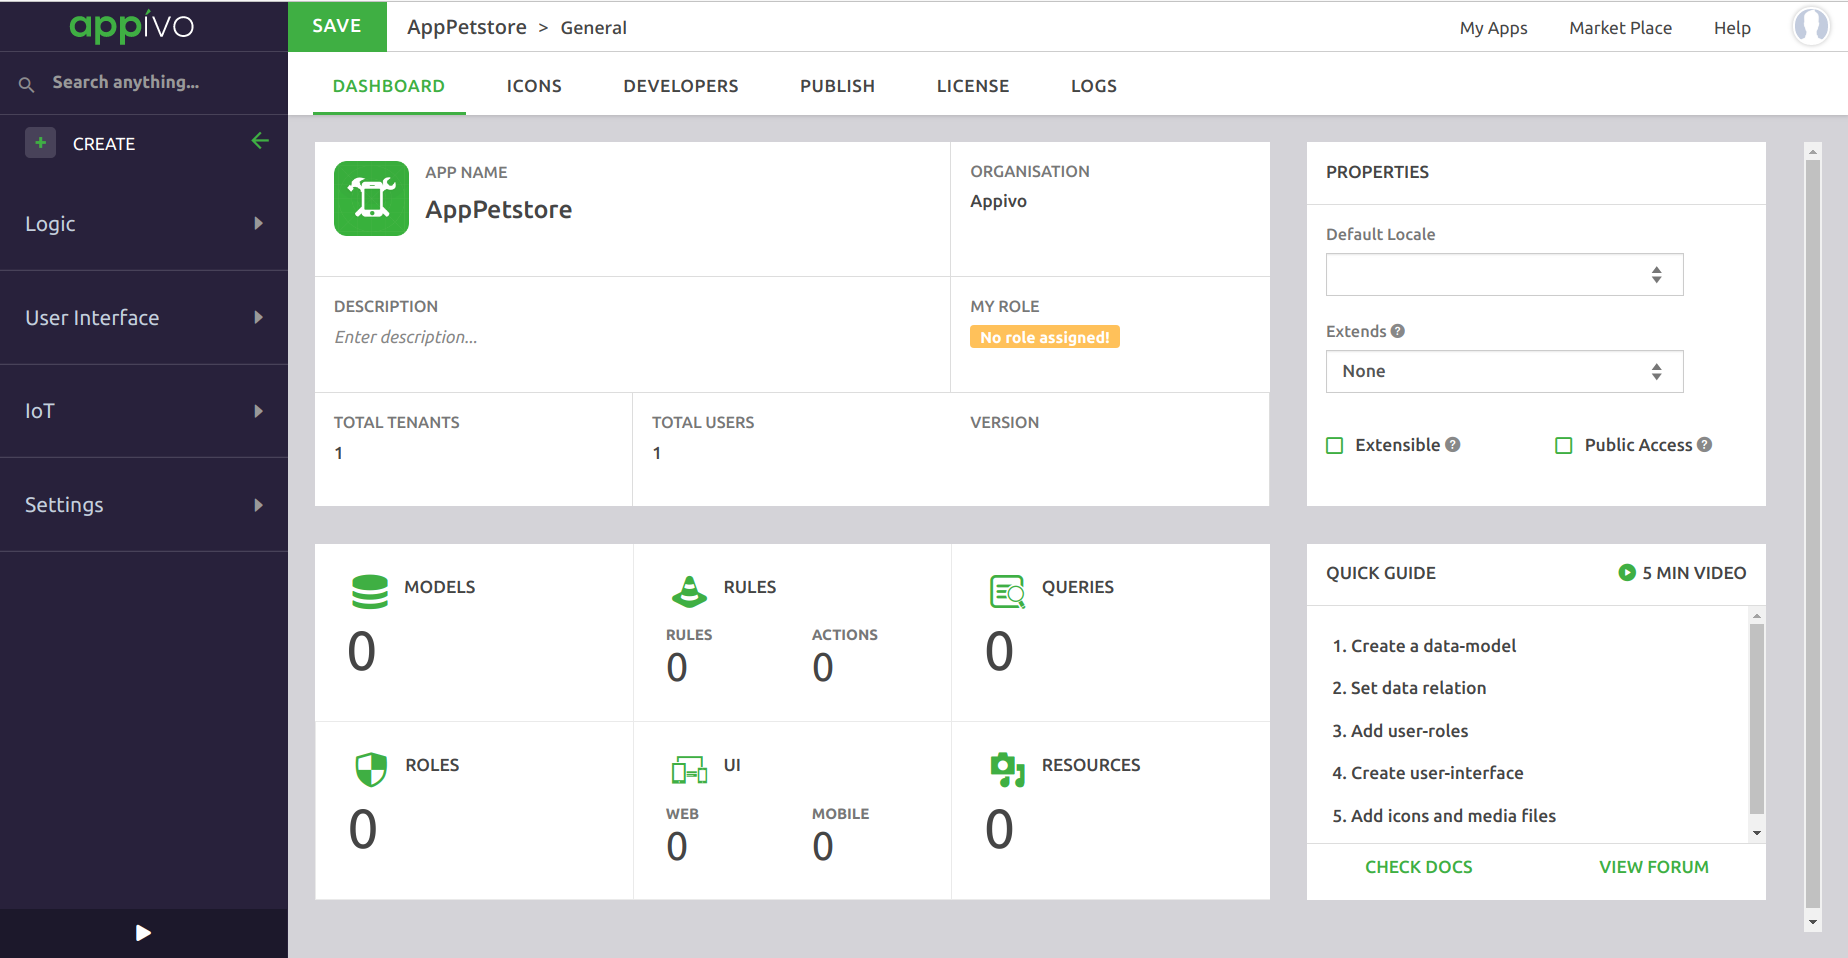
Click on Create App from the builder home page and give a name to your app. |
 |
Expand the Logic section from the left pane and click on Models. This will lead you the page shown with two options. The option Integrate with external Data Source is the one that will allow you to integrate with external services. Click on the Integrations button to configure. |
 |
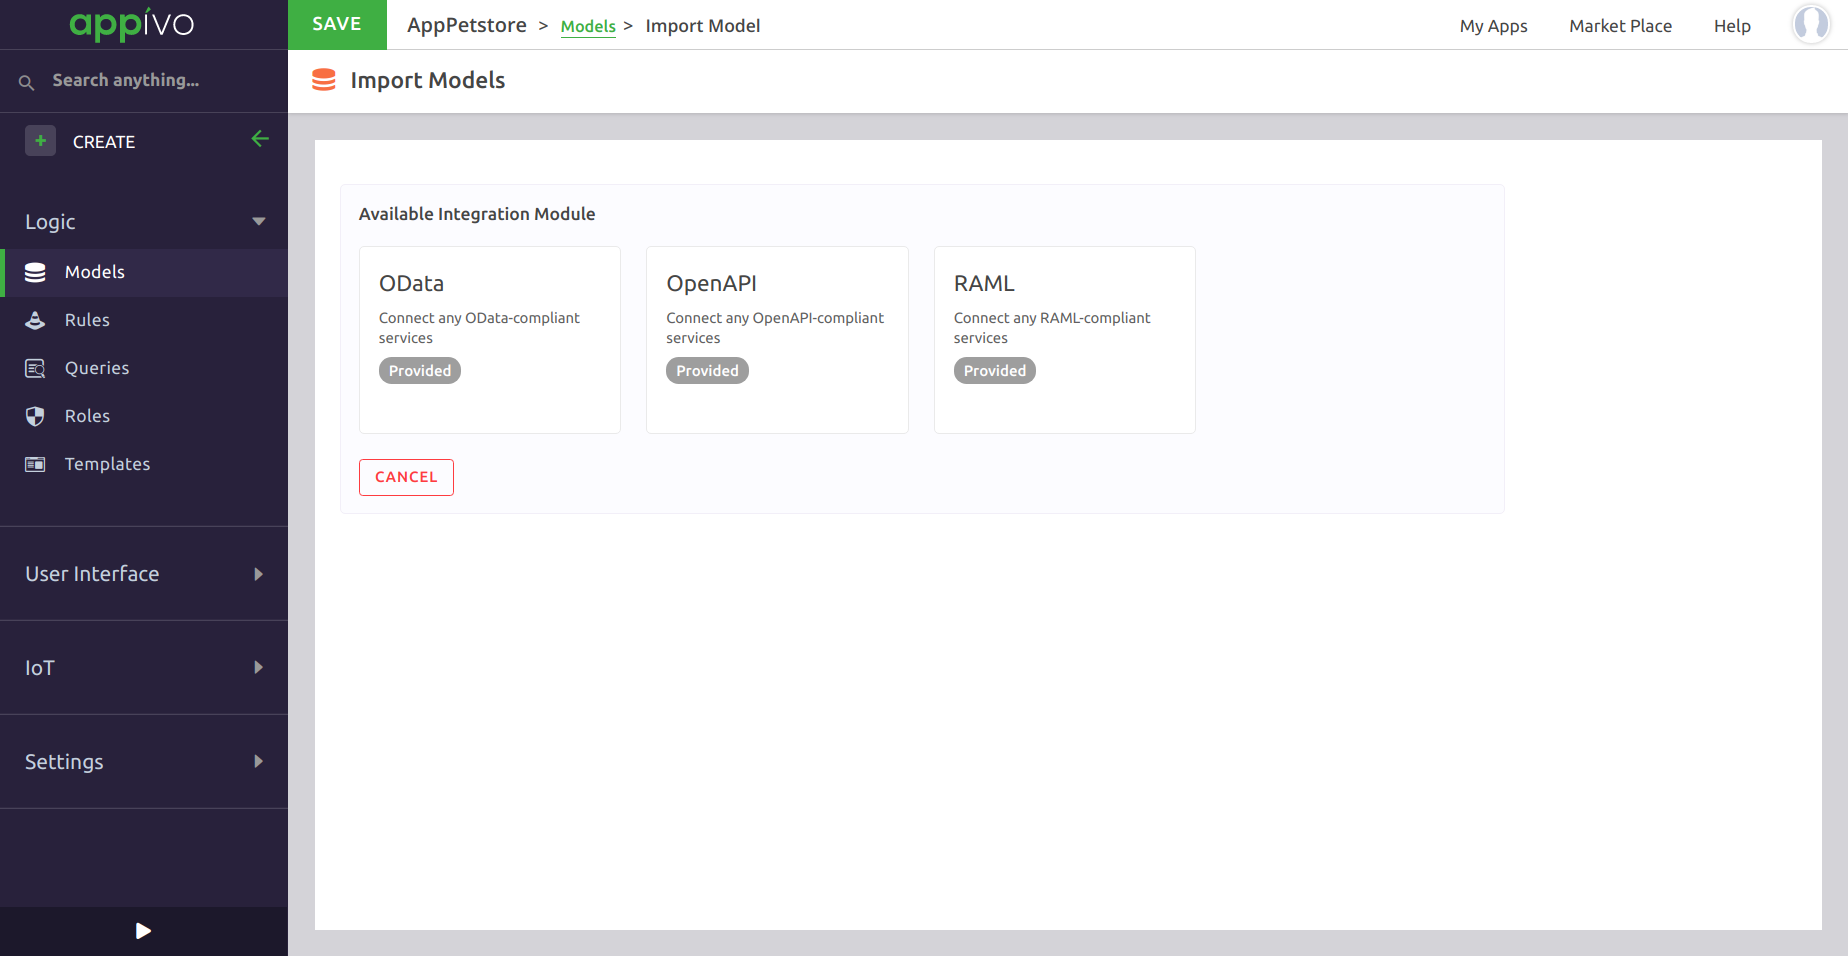
Click on the Integrations on the next page and you will land on this page. There are three types of specifications currently supported : a) OData Click on the Add button on the OpenAPI tile to proceed. |
 |
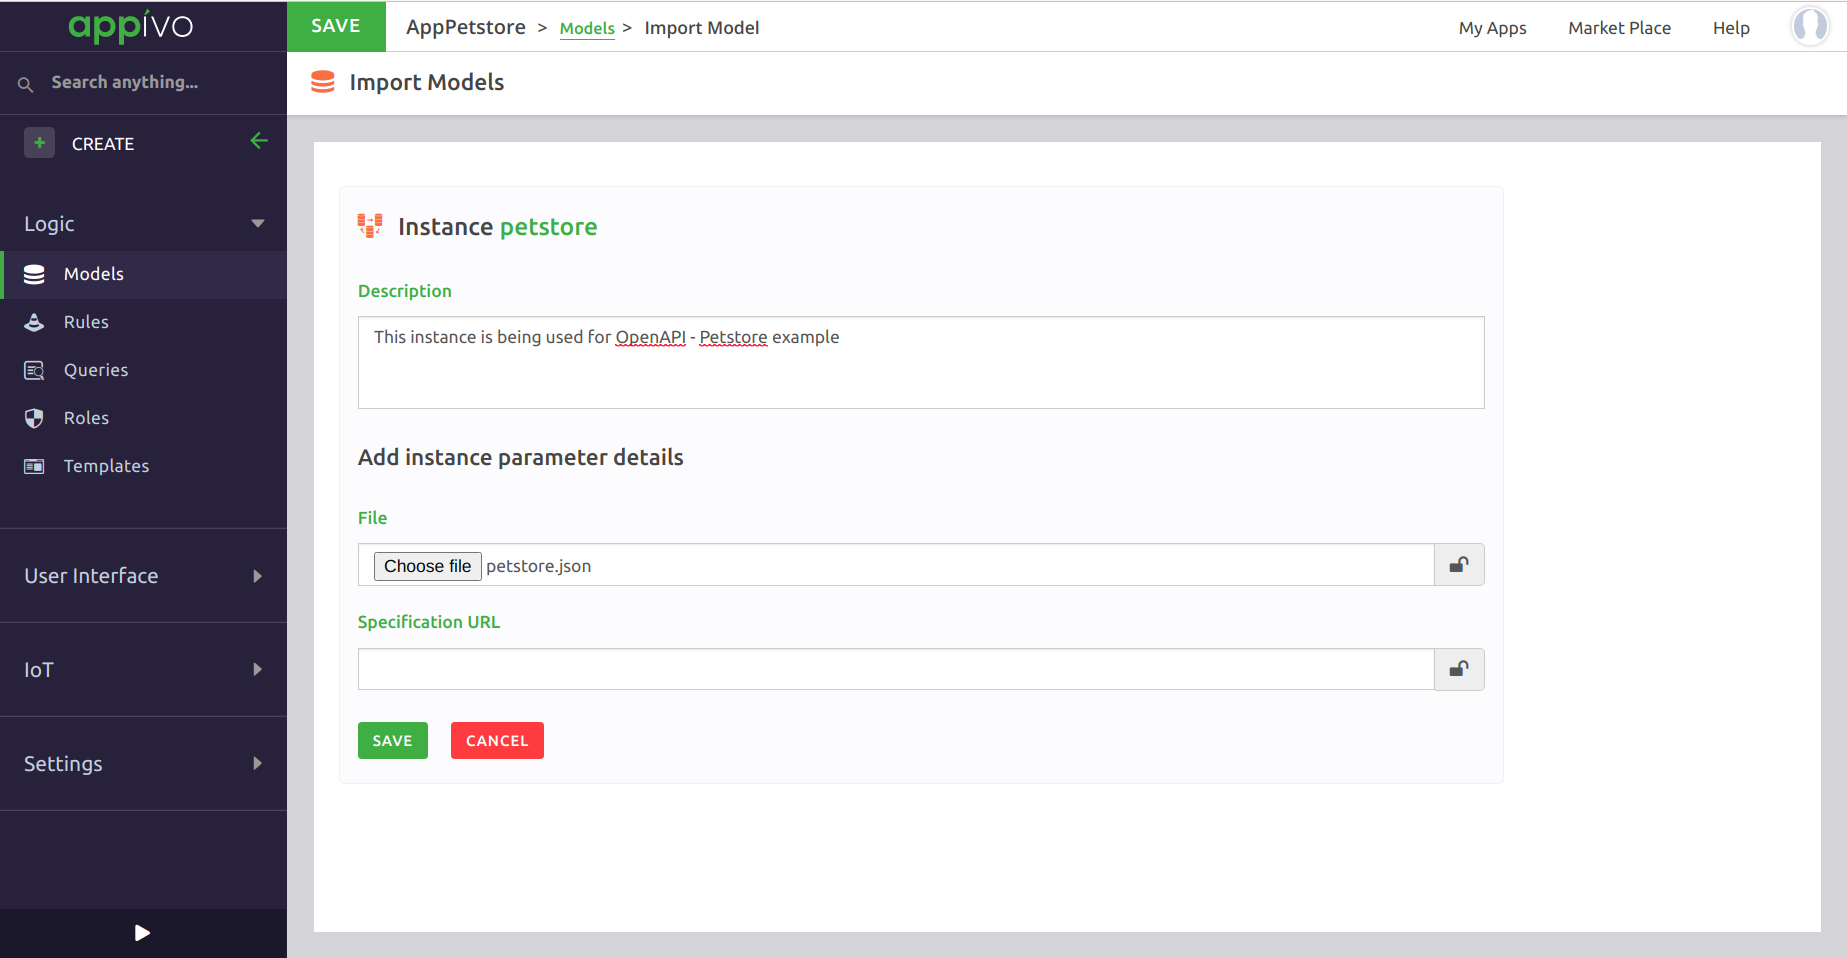
Provide a name to the Instance. Add a description for the same. Upload the specification file obtained from the link provided at the top of this page. You can alternatively copy and paste the specification url of the service. Click on Save. |
 |
Hover on the just configured OpenAPI tile and click on the Play button to initiate the discovery of models from the specification. |
 |
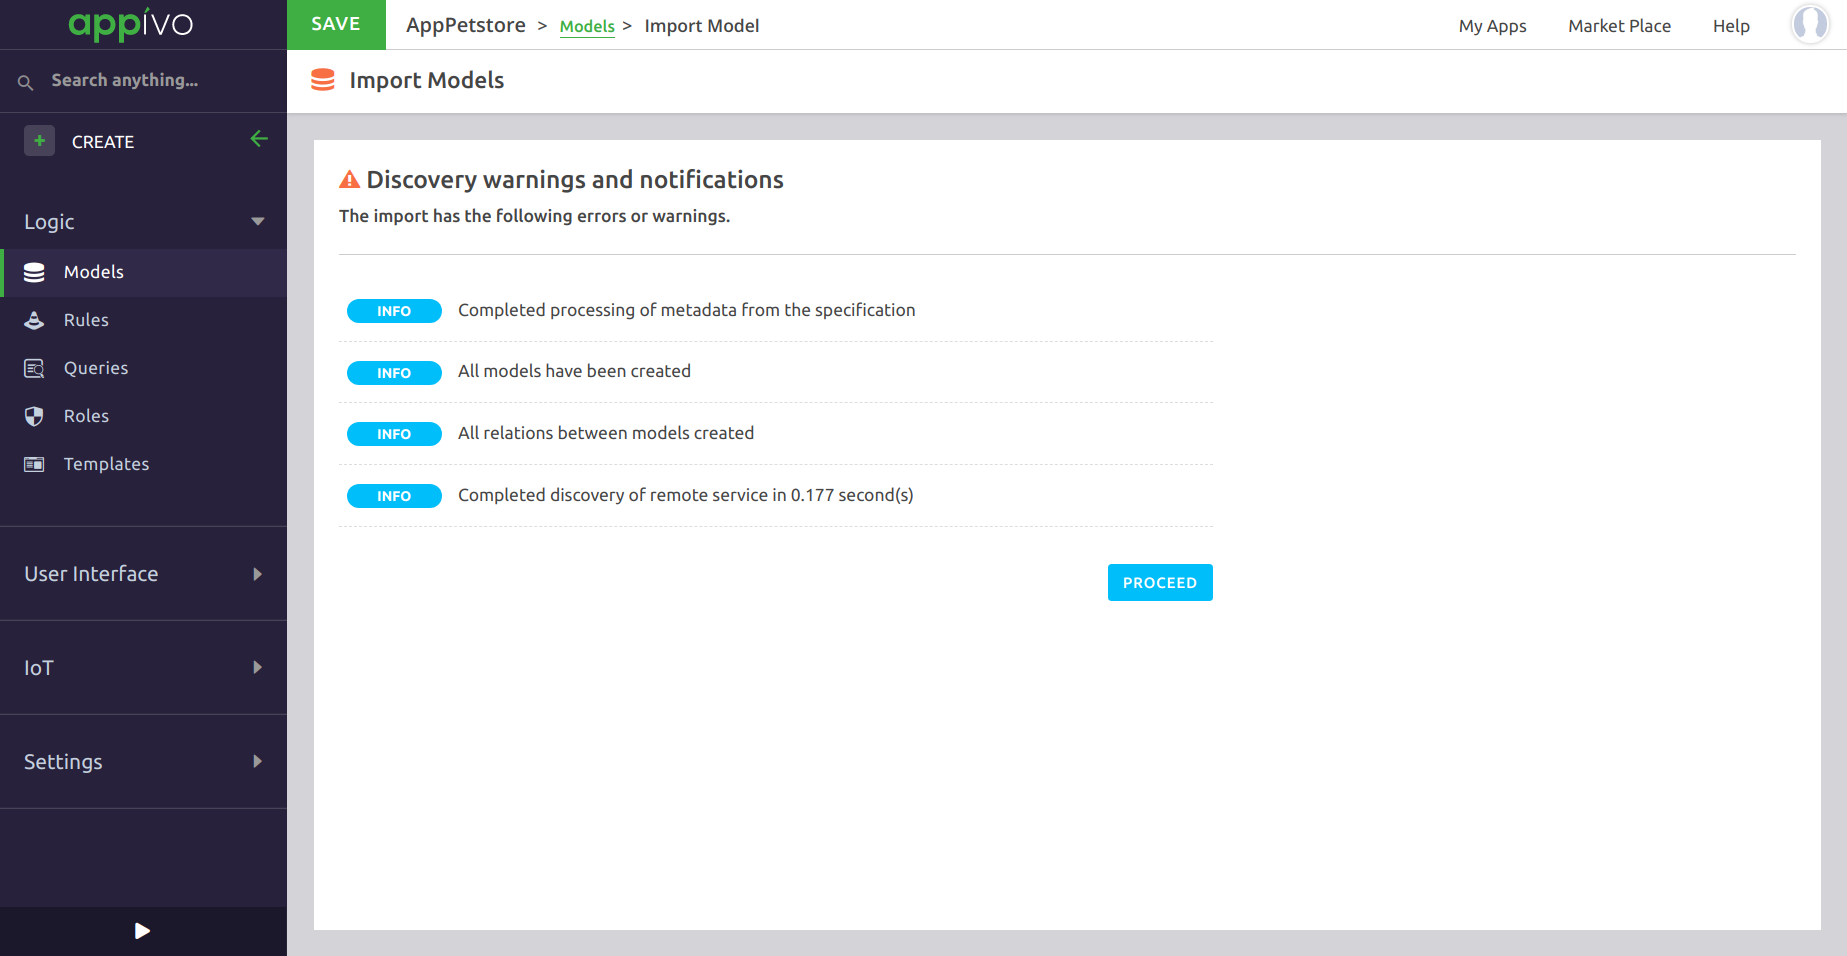
If there are no issues/error in the specification document, then you should get INFO statements and the Proceed button should get enabled. Click on Proceed. |
 |
Configure the security scheme from the drop-down and set the appropriate values. Click on Proceed. Note : If the spec document already mentions a security scheme then the same will be available as an option in the drop-down else the user is free to configure the security scheme as per his/her choice. |
 |
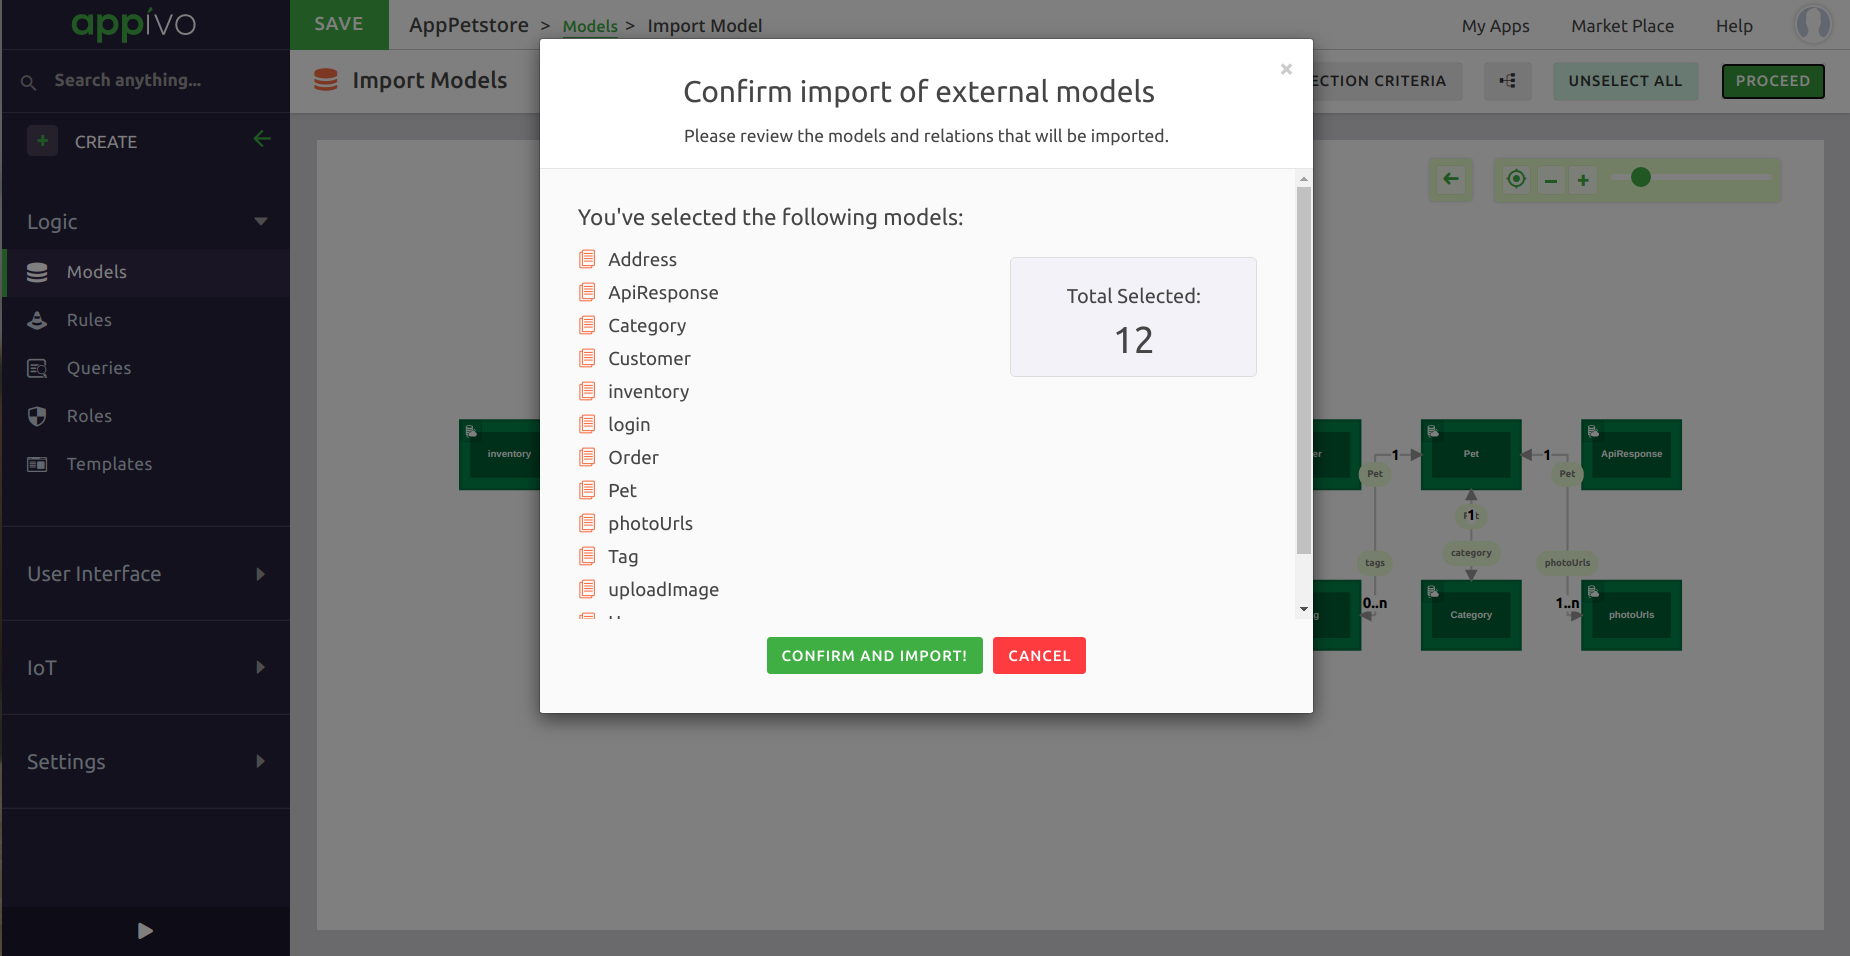
You can select only specific models that you want to be imported from all the models displayed. If you are unsure at this stage as to what models shall be required, then click on Select All and then on Proceed at the top right. This will display a list of all the models that shall be imported. Click on Confirm And Import. Once done, click on the Save button on the top to persist these models. Now you can proceed with building an app by following the steps mentioned on Building an App. |
 |