Public Access
Public Access is a feature that pertains to applications that have a Public UI. It allows certain app views to be accessed without authentication. Such Public UIs can be used to create sign-up and intro views for applications. While Public UI views can be accessed anonymously by any user without signing in, normal UIs and views can only be accessed by authenticated users.
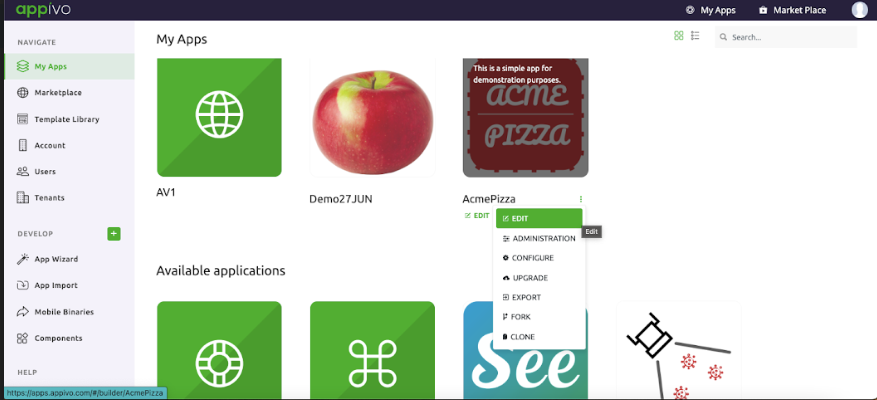
To configure Public Access, open an app in the App Builder. From the My Apps page, edit an application by clicking on the ellipsis and selecting Edit.
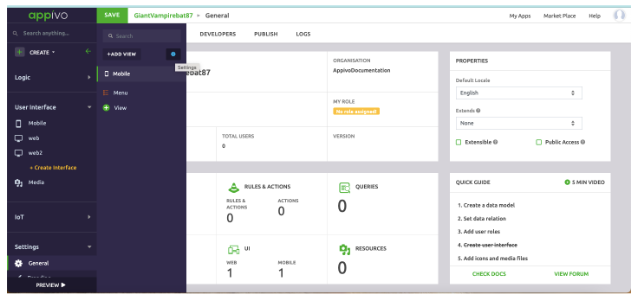
The app will open in the App Builder, displaying the Dashboard found under Settings > General.

Click on User Interface > Select Mobile/Web > Click on the blue gear Settings icon. Under Properties > select the Public Access checkbox.
After enabling the checkbox, go to User Interface Setting > select Publically Accessible checkbox.

On the same screen go to the Initial Views tab. Select the Initial Views for the UI.

Public Access needs to be defined by giving a public access name for the application. From the My Apps page, open available apps. Click on the ellipsis and select > CONFIGURE.

On the resulting app configuration page, navigate the Public Access menu.
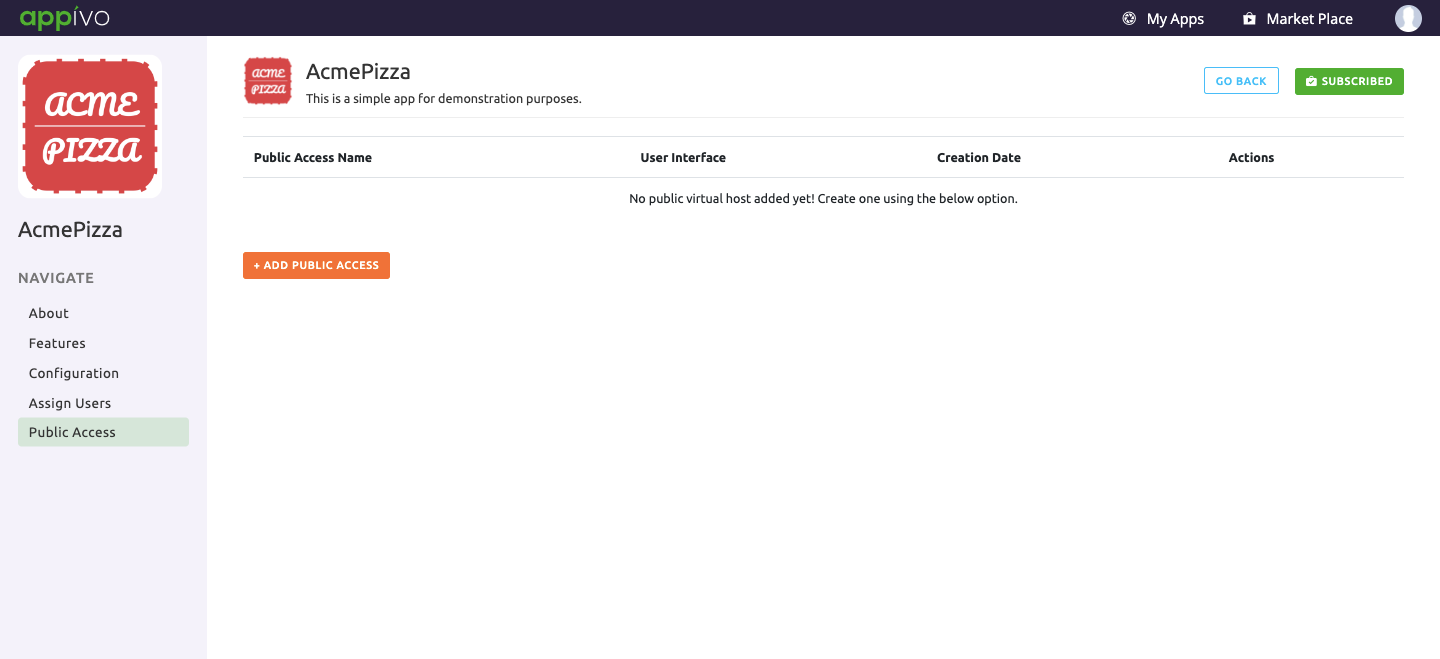
Click +ADD PUBLIC ACCESS
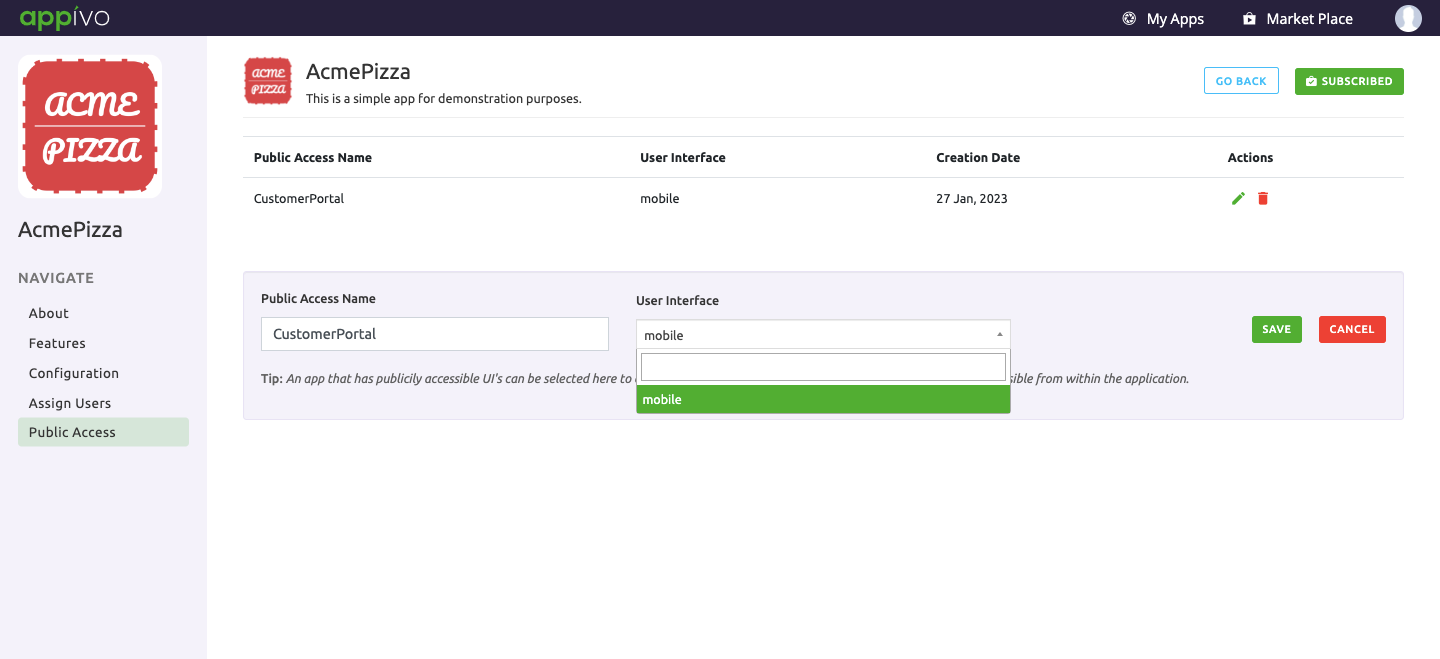
Public Access needs to be defined by giving a public access name for the application which the end user can access using a URL of the form https://apps.appivo.com/public/PublicAccessName.
Example: apps.appivo.com/public/CustomerPortal – Here CustomerPortal is the Public Access name given to the application Acme Pizza.
✰Note: Public Access URL works the same for both mobile and desktop UIs, however, if using a mobile UI, then the initial view set for the Public Access UI is set as the initial view (home page) that is displayed when the app is started.
When using a Public UI for user registration, be sure to define and assign new roles for registered users for optimizing the user experience. Also be sure not to expose too much of your application publicly.
Up Next
No Topics.